
What’s in it for you?
- Safer waste removal
- Lower risk of damage to your room and home
- Less smells in your home

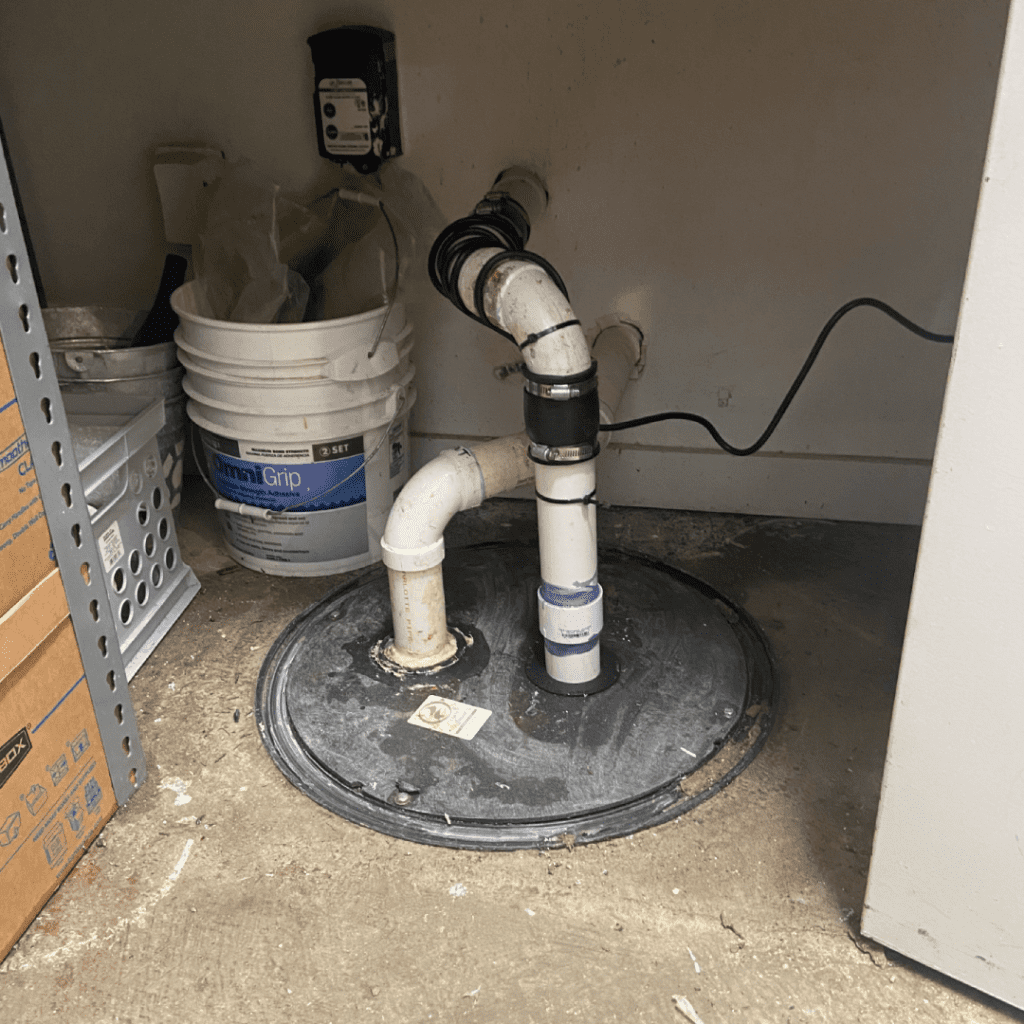
How to Maintain Your Ejector Pump:
1. Clean and prepare the pump. Turn off the circuit breaker and water source to the pump so it doesn’t turn on while you are working. Carefully open the access panel on the holding tank and inspect the interior for debris. Put on a pair of rubber gloves and remove bits of food, paper towels, or other items from the pump.
2. Check the oil. Inspect the pump’s exterior to find its oil gauge. If it doesn’t have an exterior gauge, open the pump to access the oil container. Remove the dipstick from this container and check the reading. If you notice that the oil in the pump is dirty, place a small oil bin under the pump. Pull the oil plug, and drain the oil into the pan. Wait for it to stop running before replacing the cap and adding fresh lubricant.
3. Inspect pump impeller. Locate the pump impeller and motor body inside of the pump. These areas are prone to clogs. Carefully wipe them down and break apart clogs if you notice grease buildup.
4. Tighten connecting elements. Check the connecting elements, such as any screws, belts, and hose brackets, to make sure they are tight. Use a regular or Phillips screwdriver to tighten them as needed.
5. Assess bearing damage. Locate the bearing assembly in the pump and inspect it for damage. You should be able to spot physical damage on the surface. Open the bearing assembly, remove each of the bearings, and install new ones. It is often a good idea to talk to a professional before replacing the bearing assembly.
6. Ensure your seals remain tight. Rub your fingers across the sealed areas of your motor, such as welded sections, to feel any apparent breaks or signs of wear and tear. These seals often get broken over a period of about 10-20 years. Replace or repair damaged seals or O-rings.
7. Clean your vents. Locate the pump vents on your unit – the location will vary based on the model. Inspect your vents for waste buildup, such as dirt, dust, or other debris. Break them apart with your fingers and throw them in your garbage bag. Open up your vents to let in fresh air. Then, replace pump cover and turn the breaker back on. From now on, avoid flushing waste material down your sinks and toilets.